Start here: your first post in 30 minutes
New to Grow? Read this chapter first: the shortest way from signing in to your first scheduled post. Each step is one thing to do; click "Detailed steps" when you want more.
After this chapter: you have one post that the AI wrote, you approved and the calendar holds.
- Step 1
Sign in with an email code
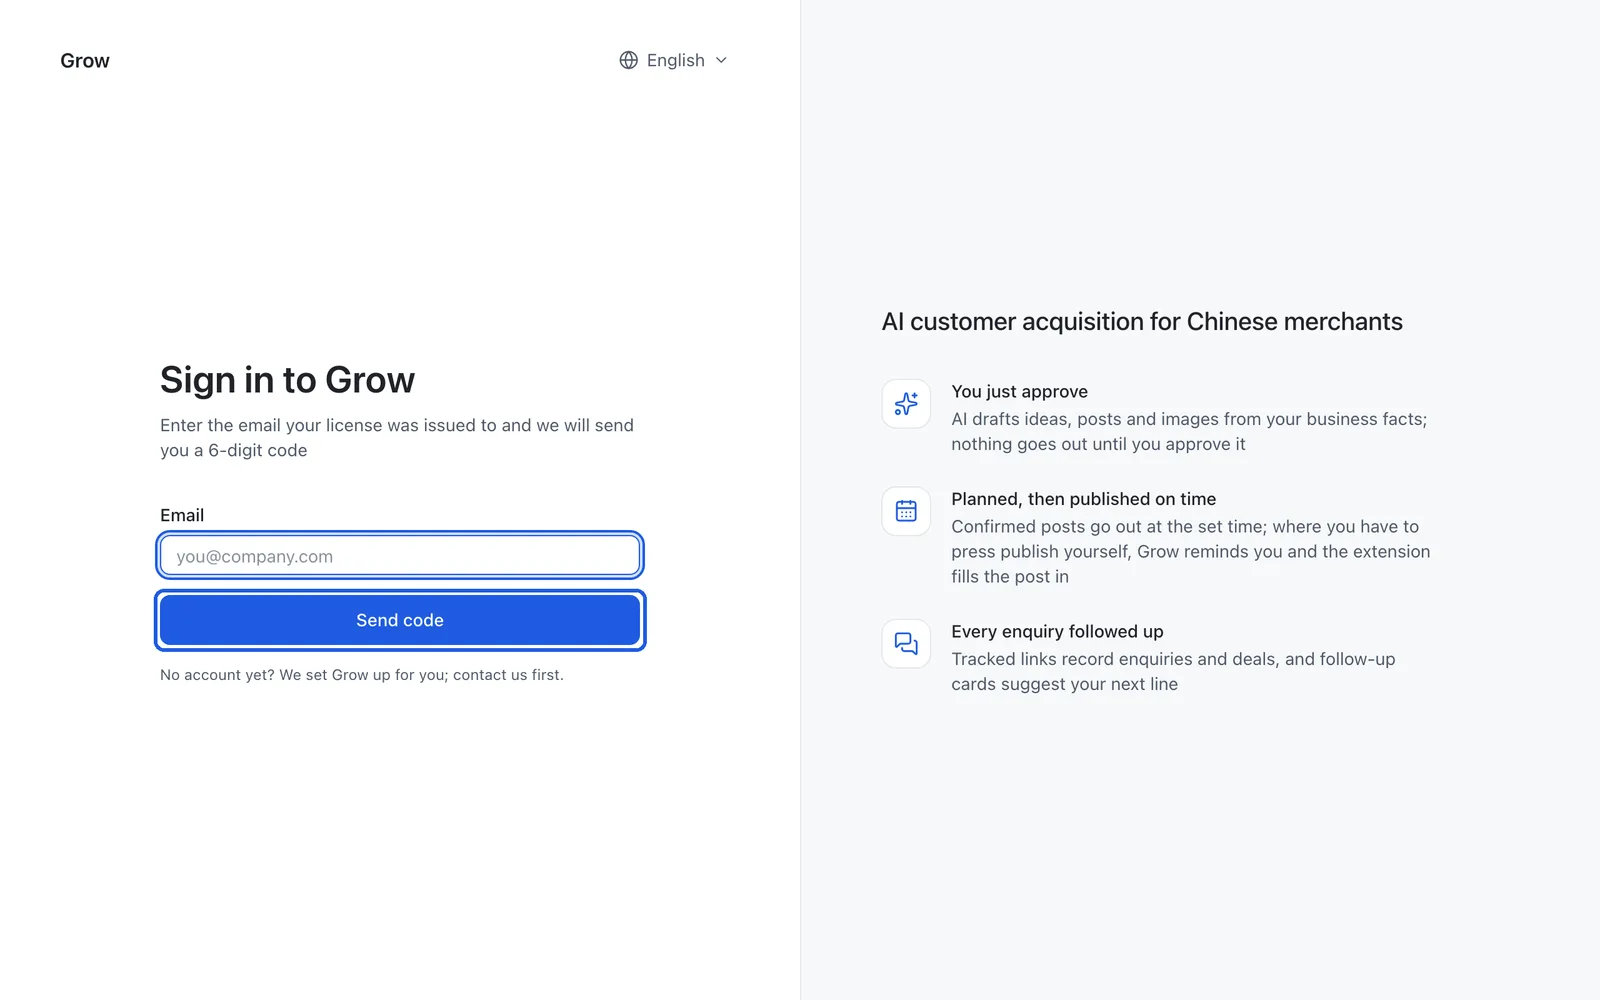
Open the Grow sign-in page, enter your email and click "Send code". Find the 6 digits in your inbox, type them in and click "Sign in". Grow has no password; you sign in this way every time.
Detailed steps: Signing in for the first time →
Tip: Before you start, have ready: a computer with Google Chrome (Edge also works); the inbox of the email Grow was set up with; your website address or a product brochure (or just a paragraph about what you sell). The AI takes 5 to 20 minutes to write in the middle, so part of the "30 minutes" is a tea break.
- Step 2
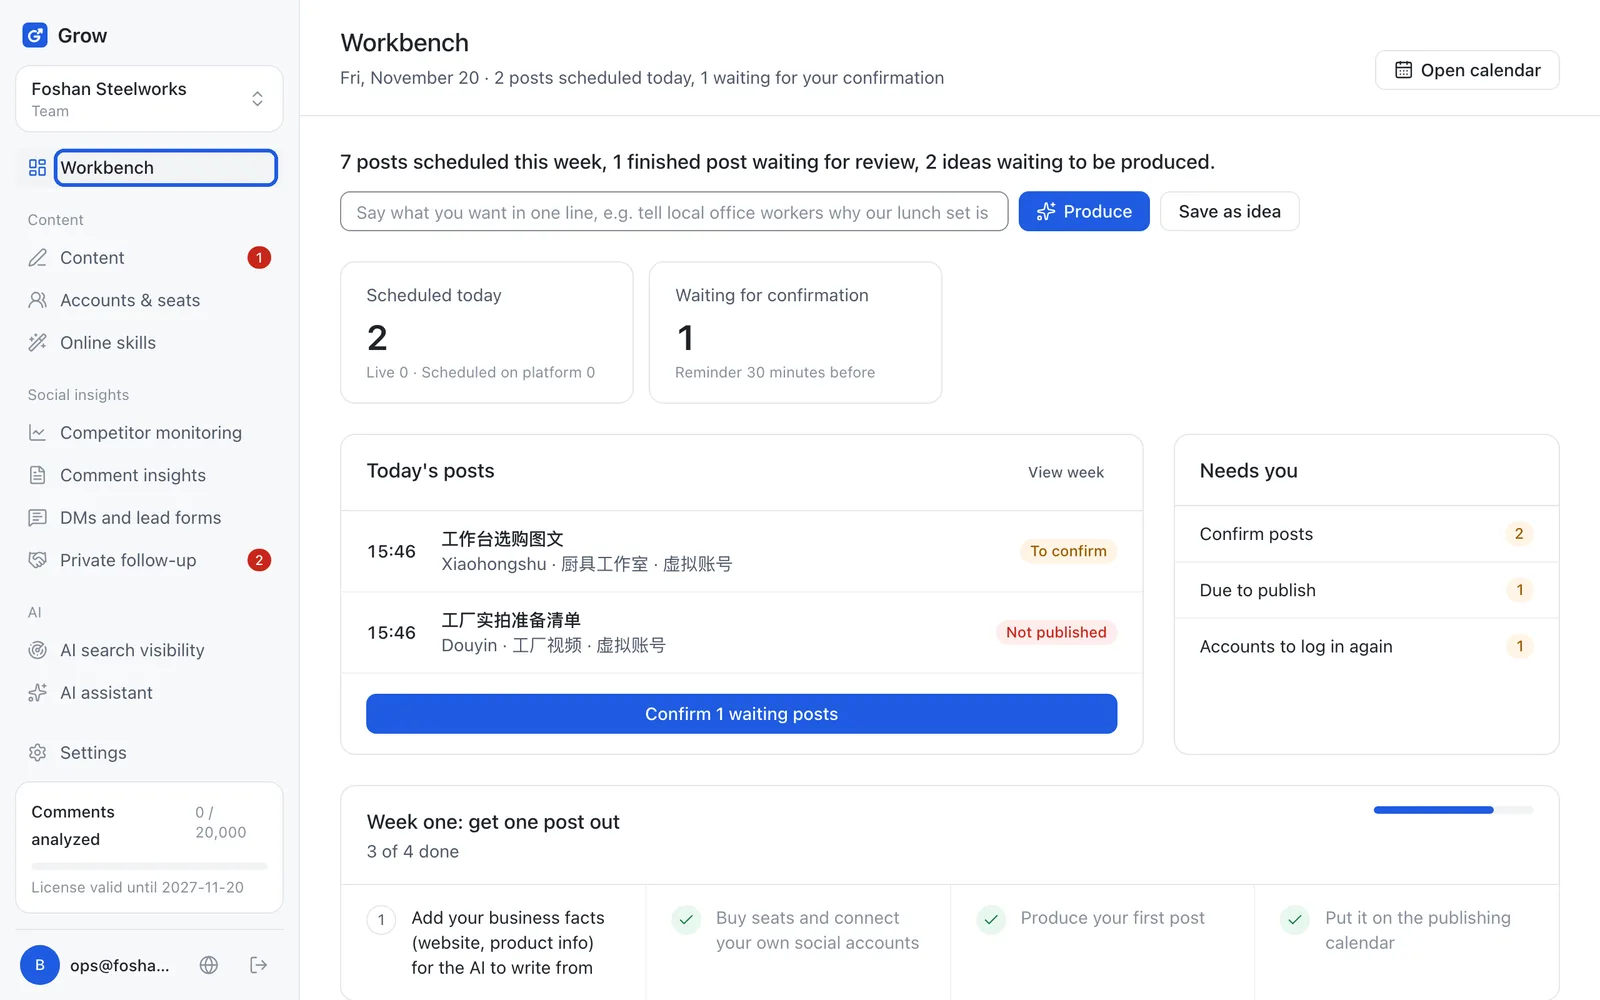
Look at the "Week one" checklist on the Workbench
The home page you see after signing in is the "Workbench". Scroll down a little to a "Week one: get one post out" checklist with four steps. The next steps walk you through all four, and each one is ticked when done; once all four are done, the checklist goes away.
Detailed steps: Signing in for the first time →
Tip: Want to see everything filled in first? Open "Settings" and click "Use demo data". You get an extra demo workspace full of examples where nothing is really posted. Switch back to your own workspace at the top left when you are done.
- Step 3
Give the AI your website
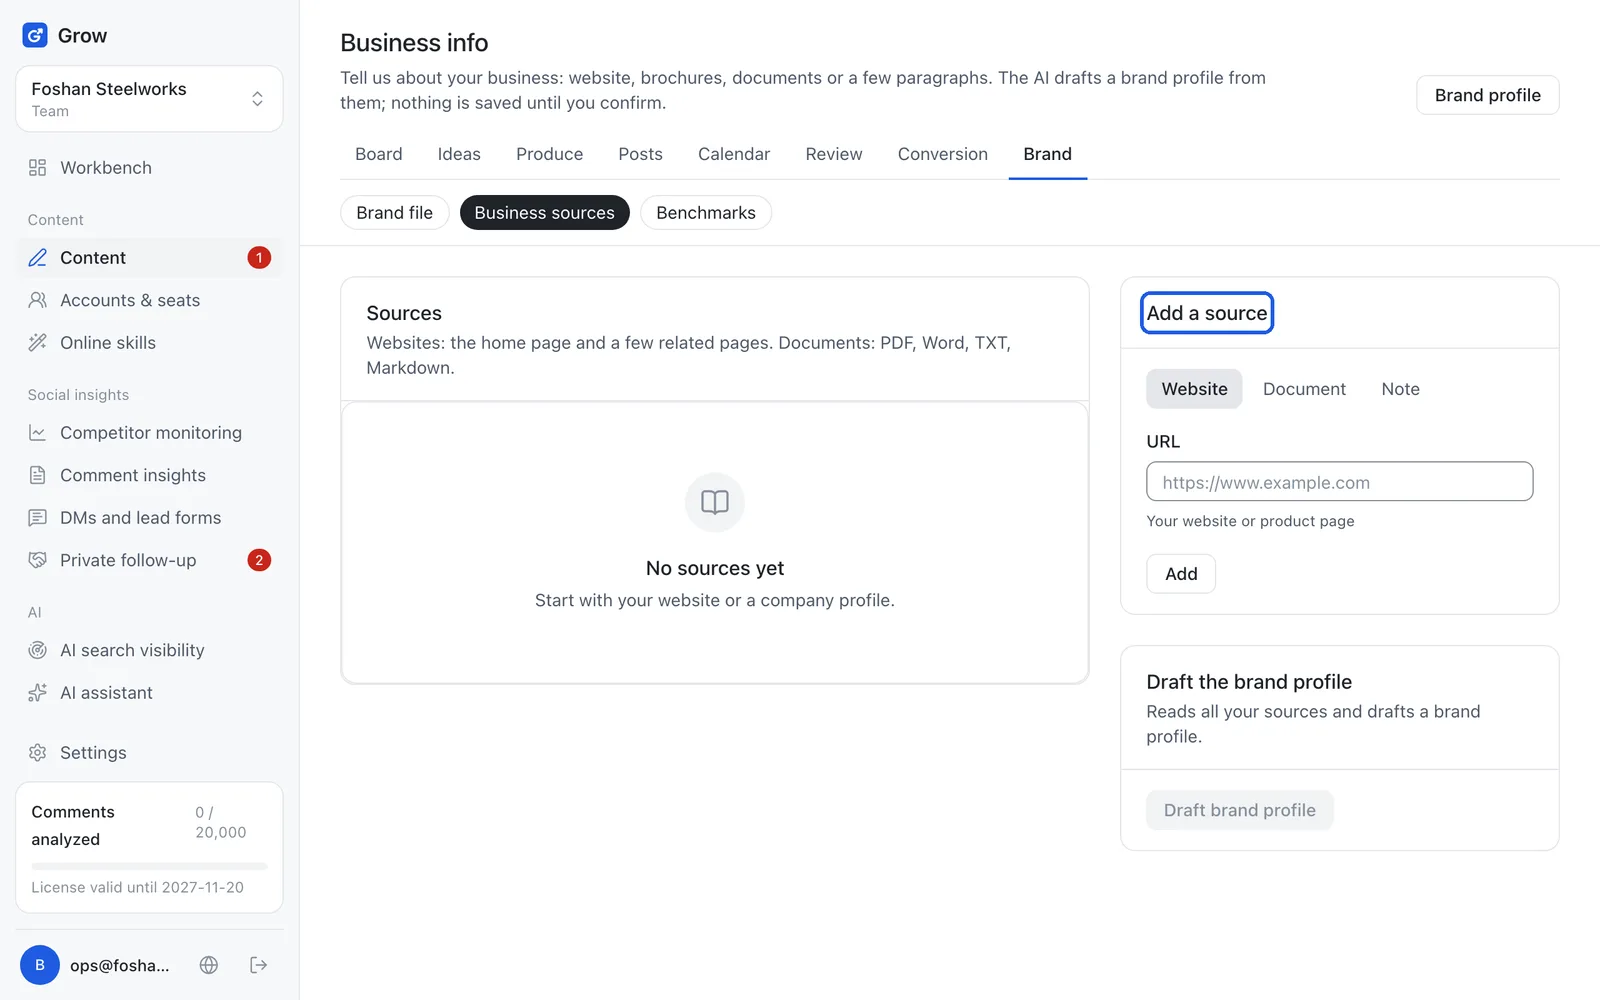
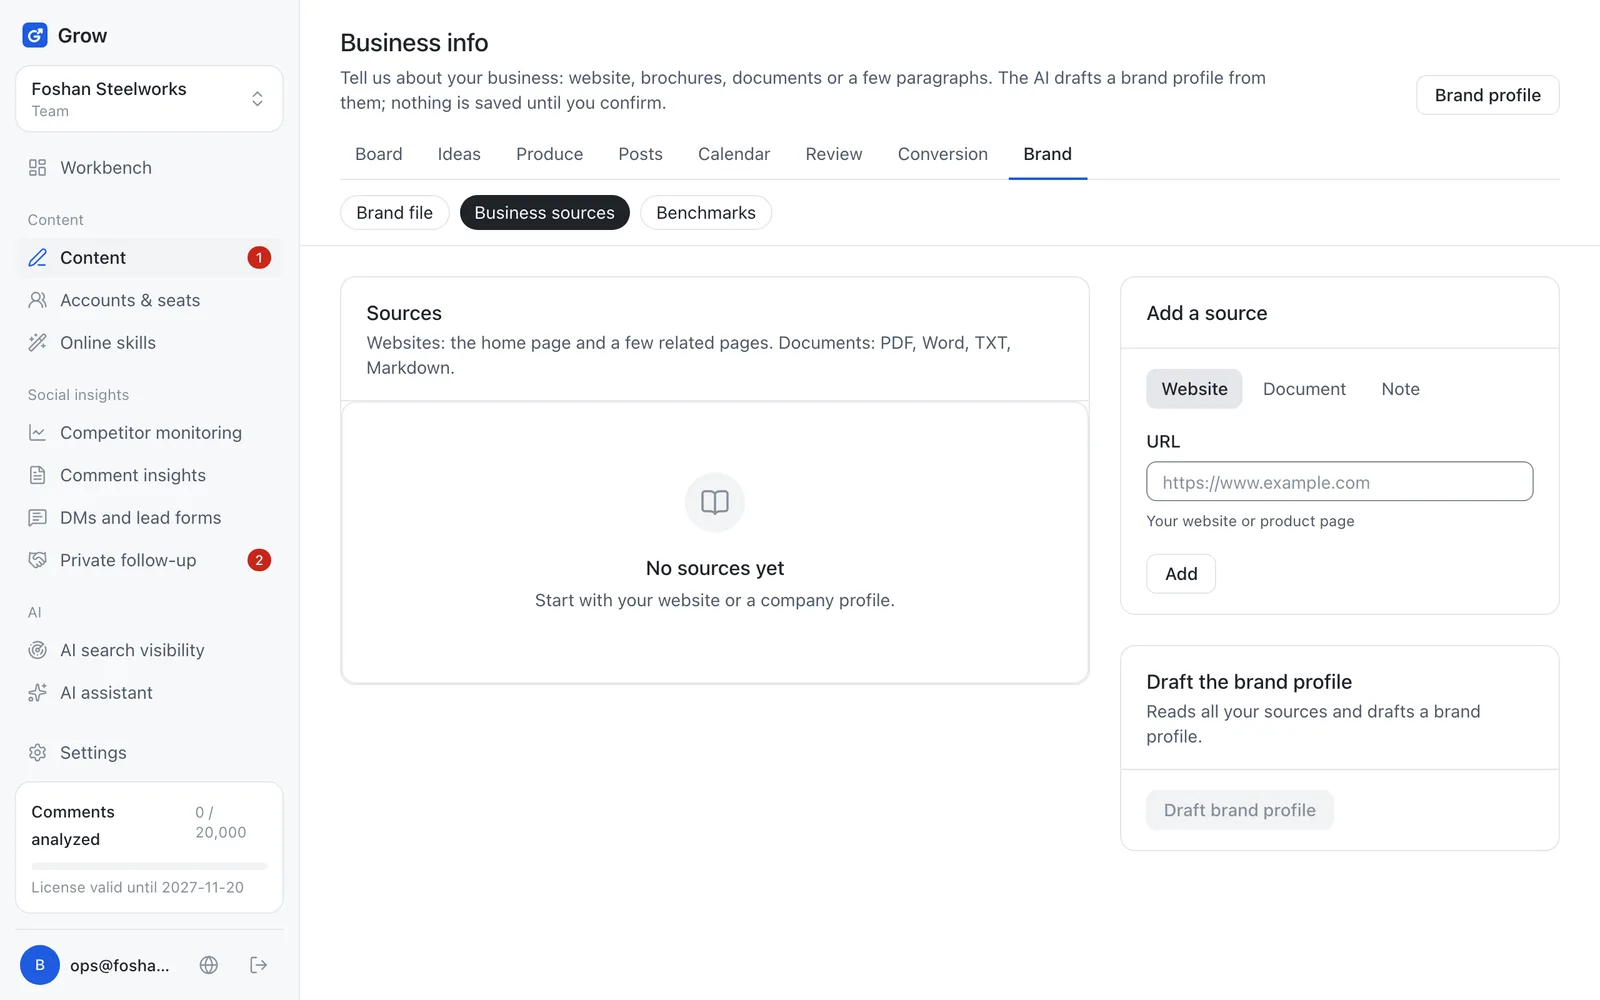
Click "Content" on the left → "Brand" at the top → "Business sources". In "Add a source", pick "Website", enter your website address and click "Add". Then click "Draft brand profile" and wait about a minute.
- Step 4
Tick what is right and save
The AI puts together a draft: what you sell, who to, how you talk, and the facts. Everything is ticked by default: untick what is wrong, then click "Save to brand profile". The draft then folds away; that is normal.
- Step 5
Confirm the facts
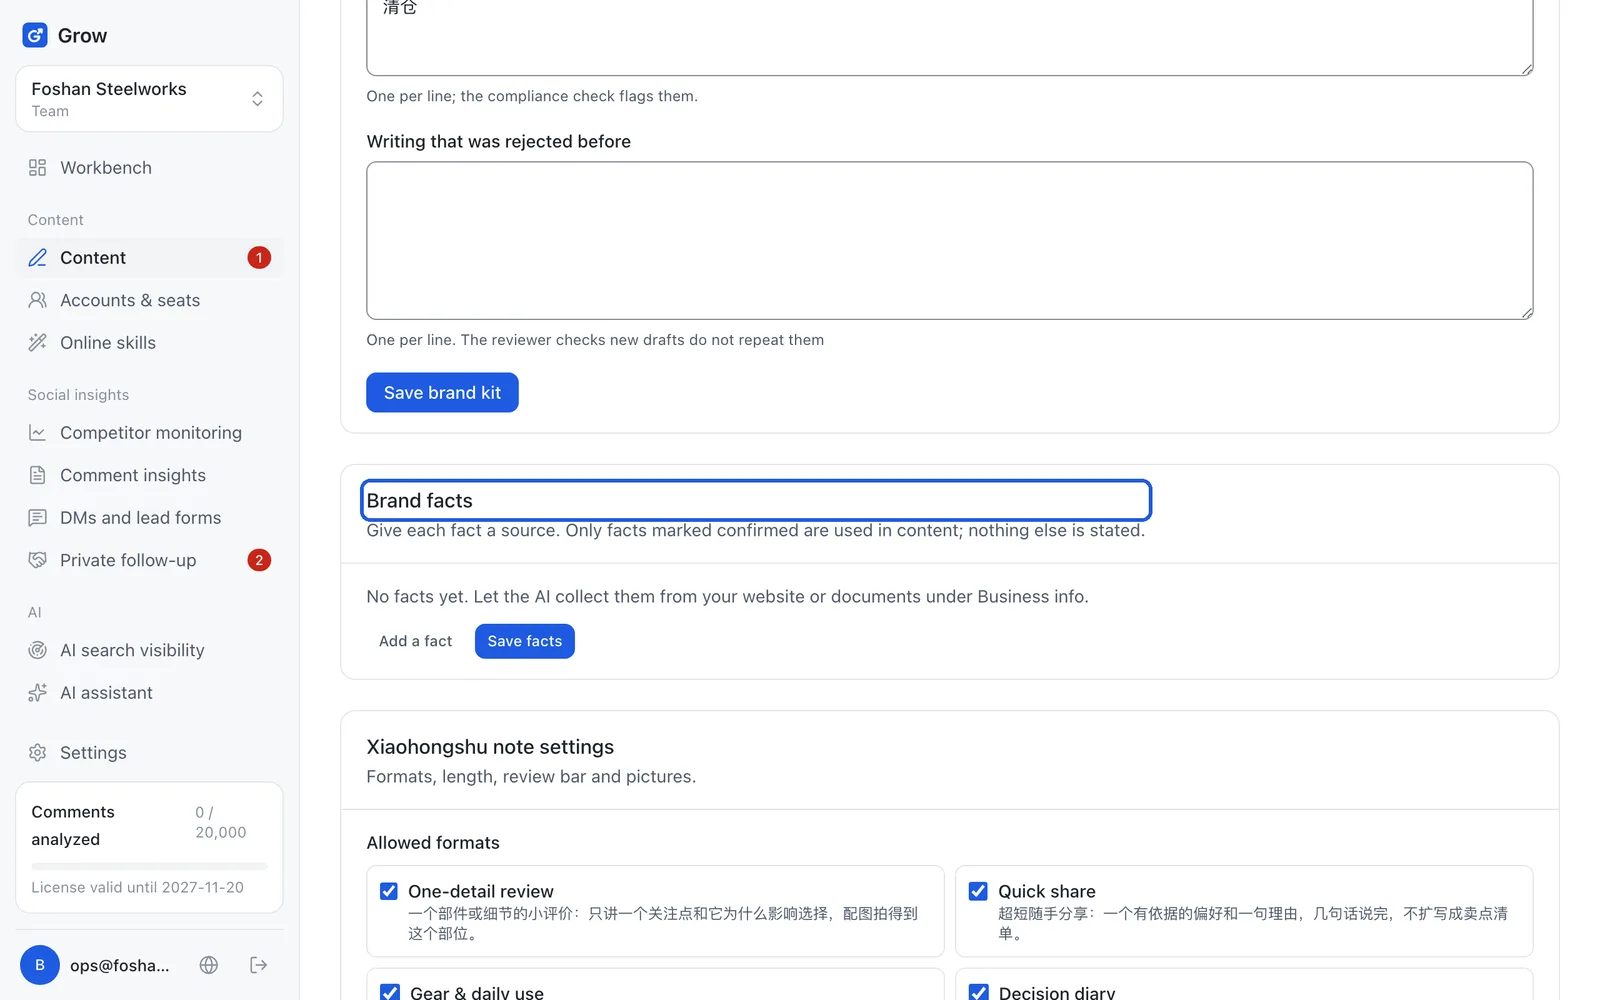
Click "Brand file", find "Brand facts", tick "Confirmed" on every one that is right, and click "Save facts". The AI only writes facts you have confirmed. The last step took in what the AI gathered; this one is you checking hard details such as prices and addresses yourself, because customers will hold you to them.
- Step 6
Buy one seat
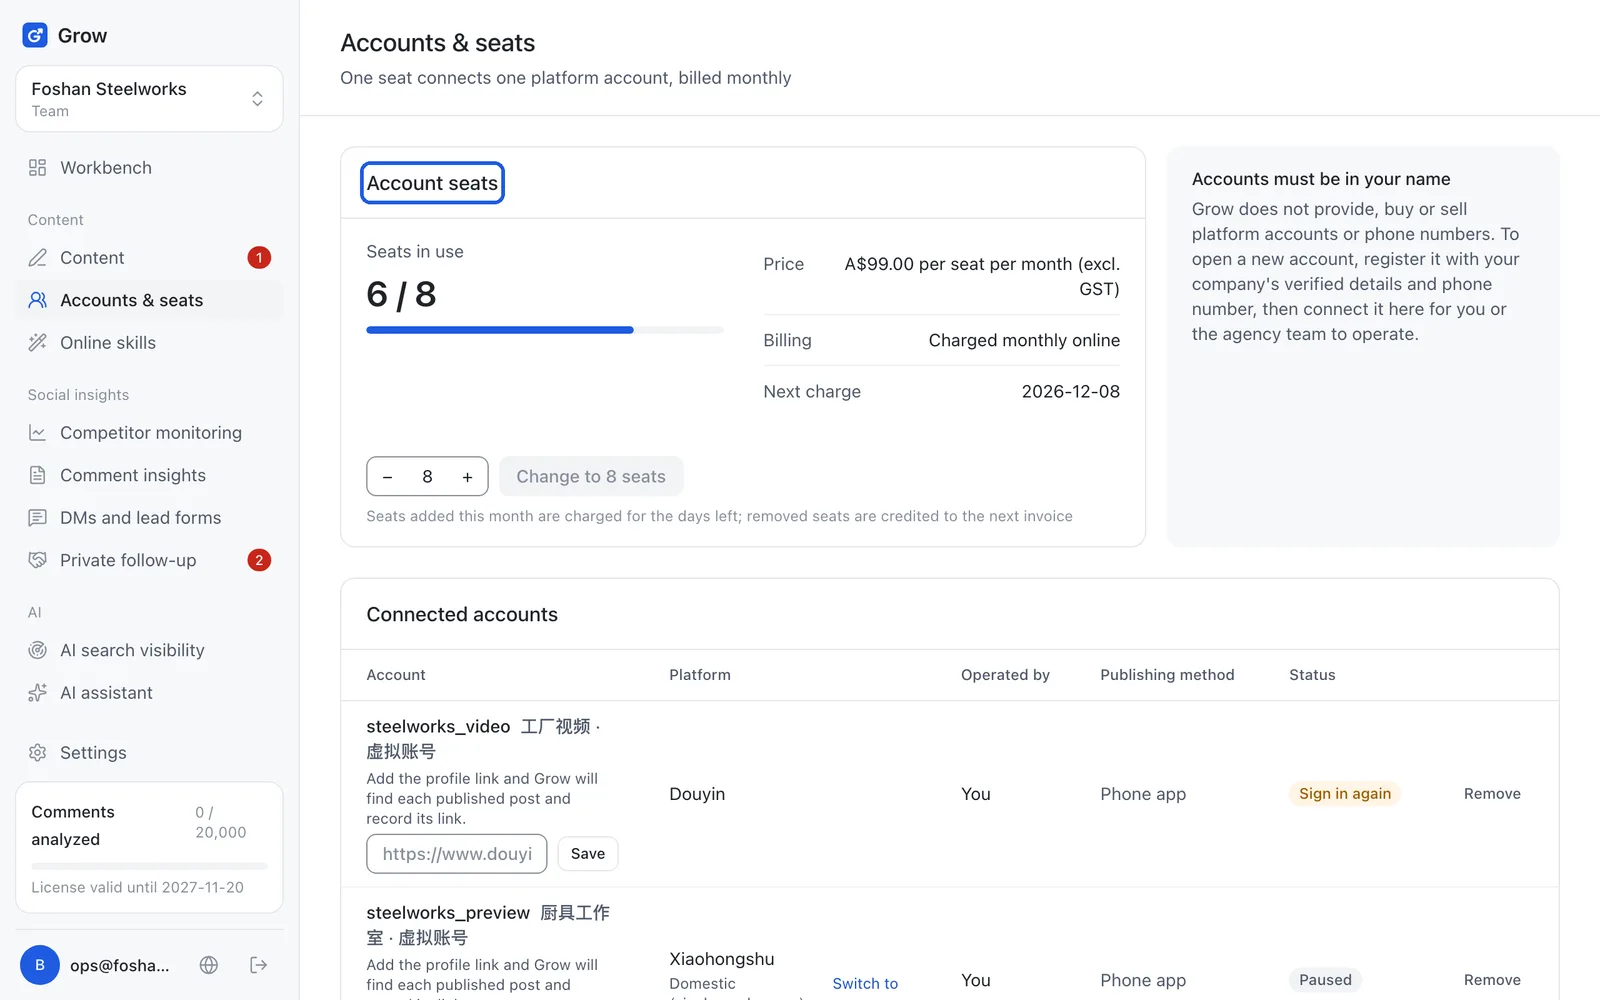
Click "Accounts & seats" on the left. A seat is one place: each platform account you connect uses one, paid monthly. Start with 1: set the number to 1, click the "Buy … seats" button, The page moves to Stripe (a widely used, legitimate card payment page; its address starts with checkout.stripe.com), where you pay by card.
Detailed steps: Connect your platform accounts →
Tip: Trial accounts already come with 3 seats, so you can skip this step. If the page says online purchase is not open yet, or you are billed by invoice, contact us to set up seats.
- Step 7
Connect one account
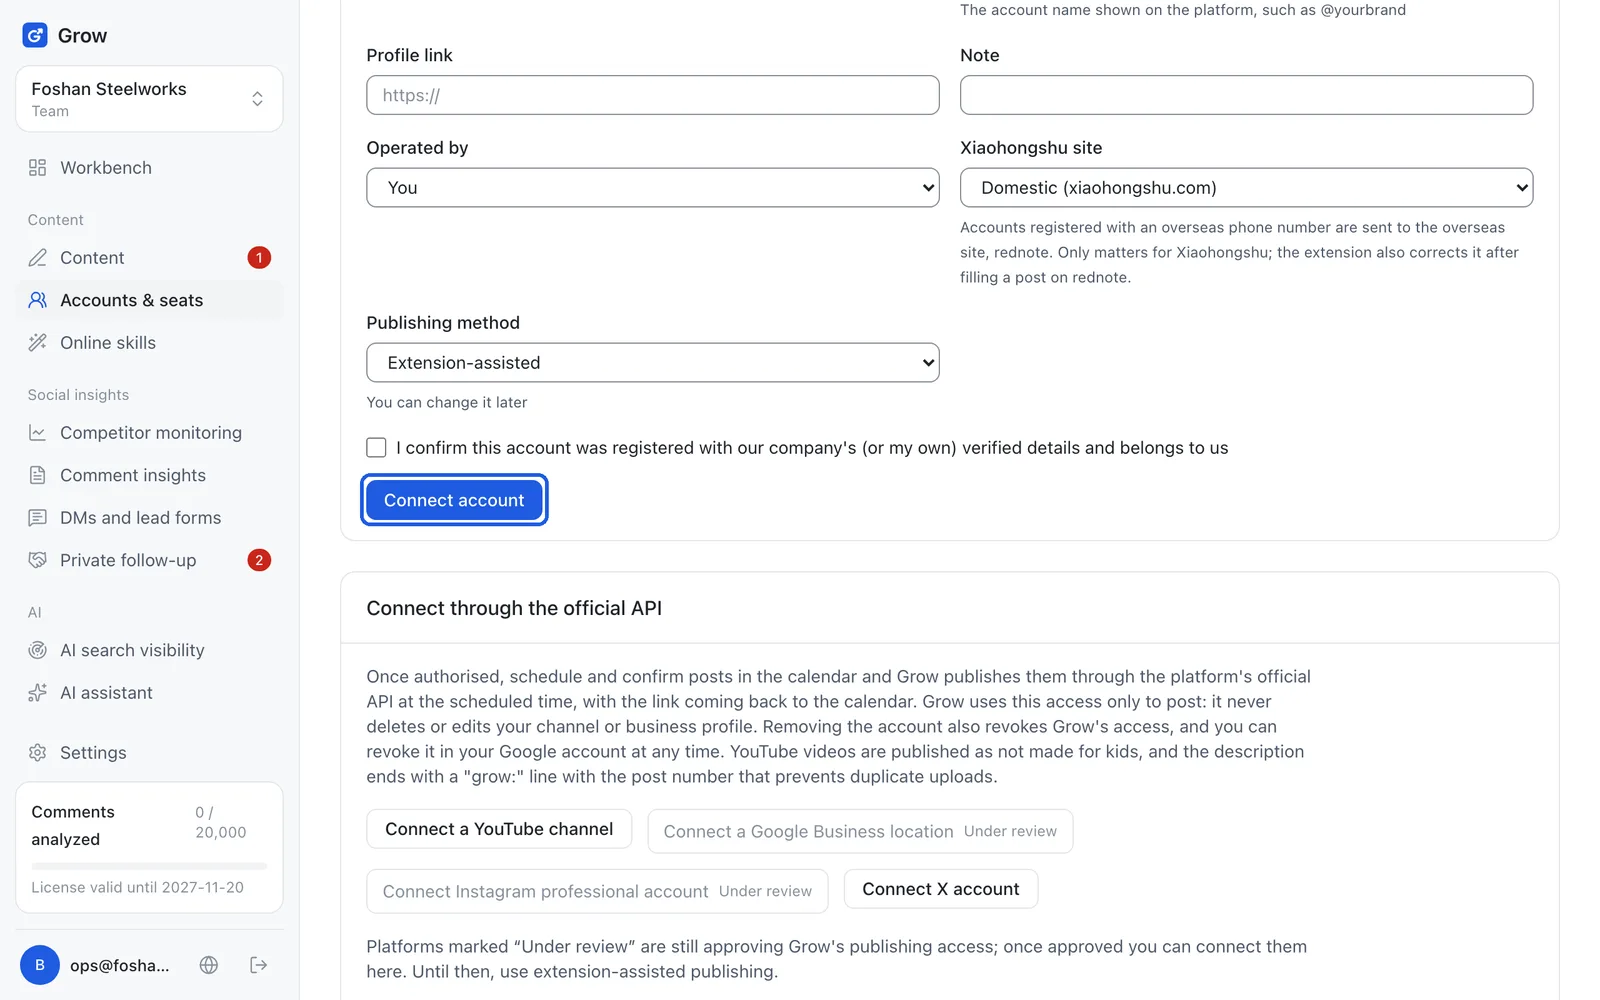
For the first post, Xiaohongshu or Douyin is a good start. In "Connect account", pick the platform, enter the account name shown on it, set the publishing method to extension-assisted (post from a computer) or phone app (post from your phone), tick that the account belongs to you, and click "Connect account".
Detailed steps: Connect your platform accounts →
Tip: YouTube and X connect by clicking "agree" on the platform's own page, and you can connect them too. Instagram and Google Business buttons currently say "Under review", so they cannot be connected yet. If the buttons are grey and do nothing, there is usually no free seat: buy a seat or remove an account you no longer use.
- Step 8
Posting from a computer? Install the browser extension (skip it for phone)
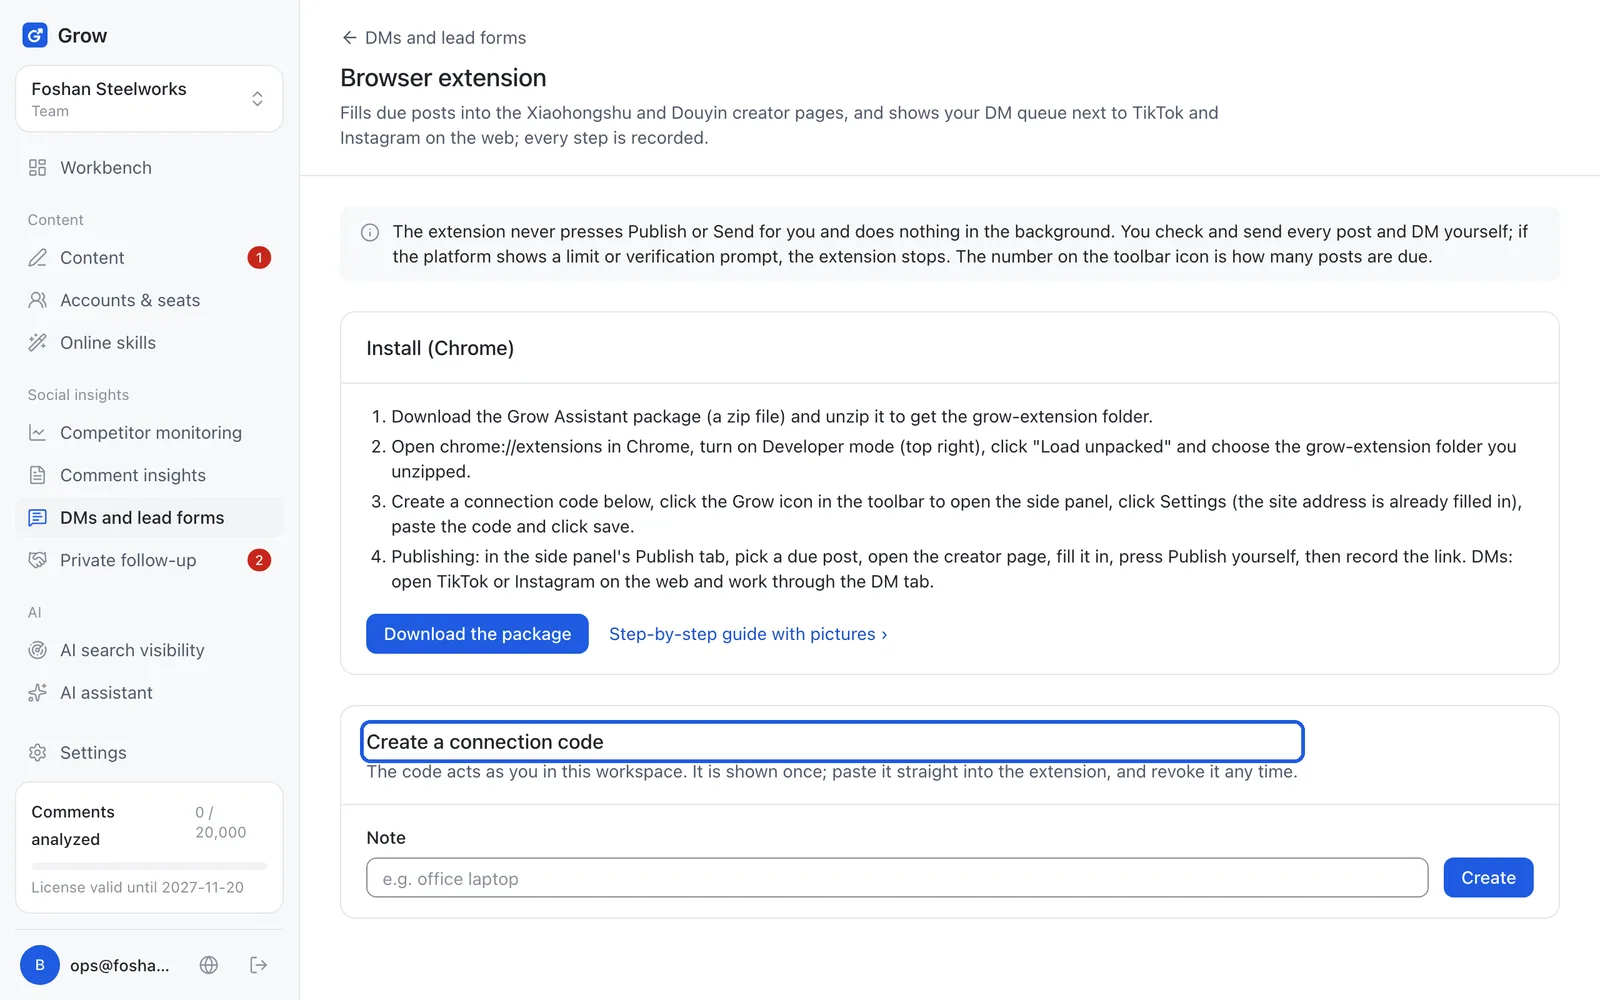
The extension is a small tool added to Chrome. It fills the title, text and pictures into the Xiaohongshu or Douyin posting page; you still press publish yourself. Open "Extension" in the top menu of the Grow website and follow the 9 illustrated steps, about 3 minutes. The download is a compressed file (.zip): double-click it on a Mac, or right-click and choose "Extract All" on Windows, and a grow-extension folder appears.
Detailed steps: Install the browser extension →
Tip: The extension is not in the Chrome Web Store yet, so installing it means turning on Chrome's "Developer mode". It is a switch built into Chrome; just follow the pictures. The extension only works on a few sites such as the Xiaohongshu and Douyin creator pages.
- Step 9
Let the AI write the first post
Click "Content" → "Produce" at the top. In "What to make", write one sentence: who it is for and what it says. For example "tell office workers nearby why our lunch set is worth it". Pick a format (for example picture post) and a platform, and click "Start".
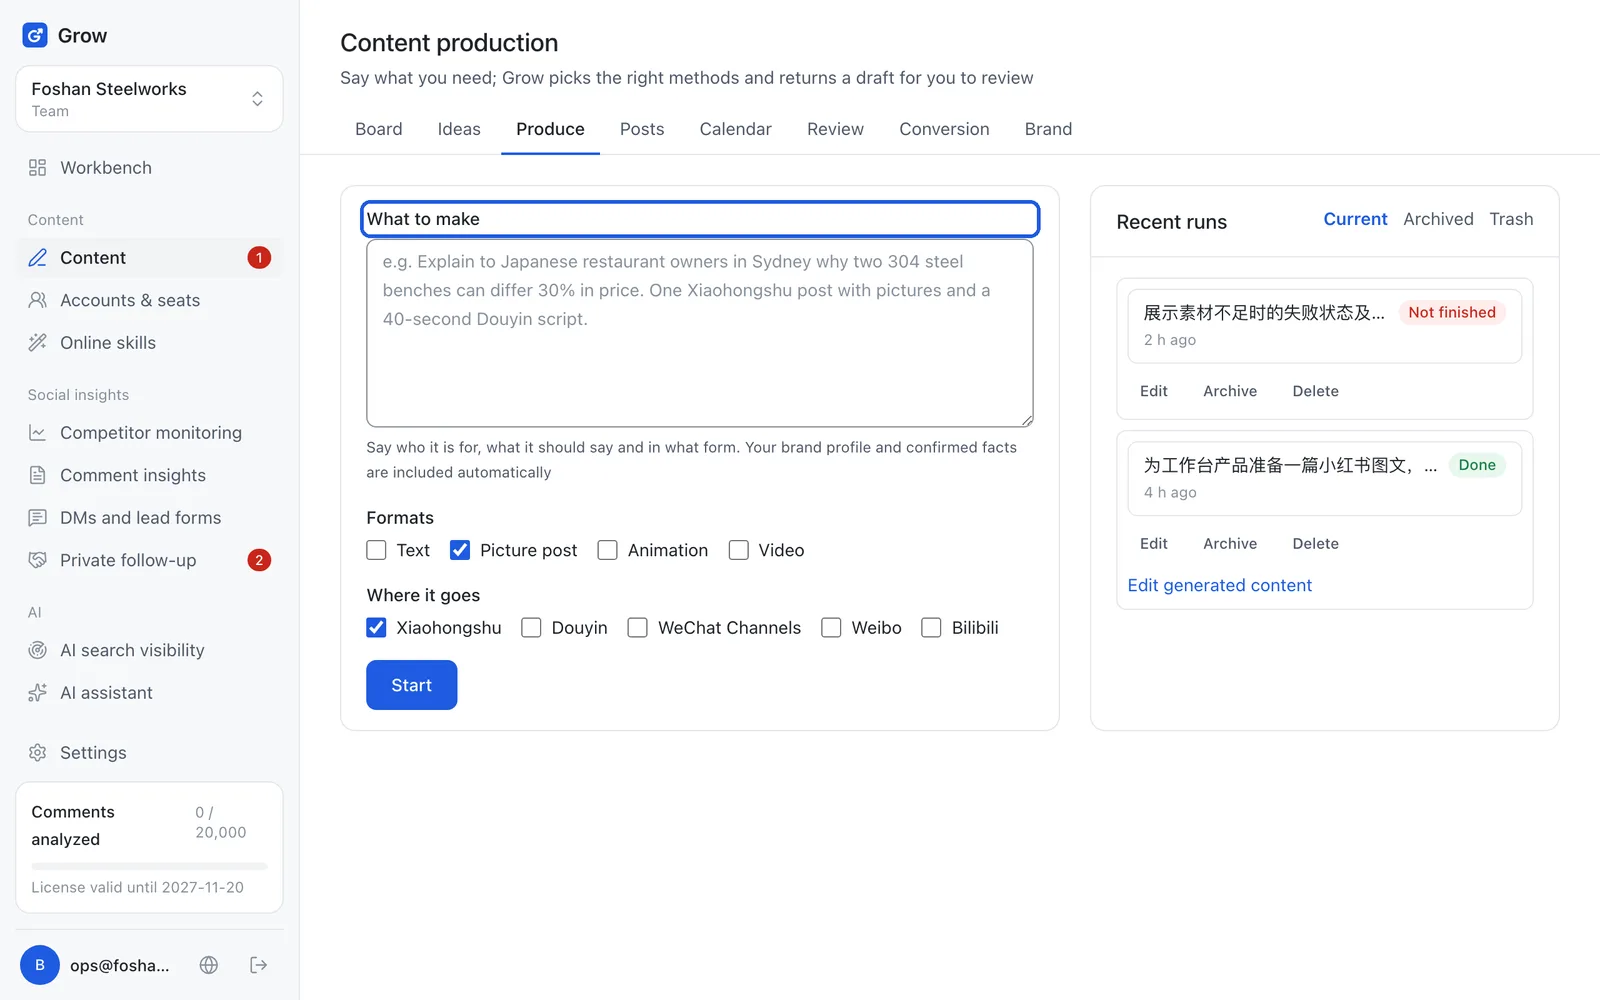
Detailed steps: Make a piece of content →
Tip: It usually takes 5 to 20 minutes and the page refreshes on its own, so you can do something else meanwhile.
- Step 10
Edit until you like it, submit, approve
If you keep the page open, the draft page opens when it is ready; if you left, go back to "Produce", click the title of this run under "Recent runs" on the right, then click "Open the draft". If something is off, say so in "Revise by chat" as if you were texting, for example "make the title shorter". When you are happy, click "Edit" → "Submit for review", and an owner or admin clicks "Approve".
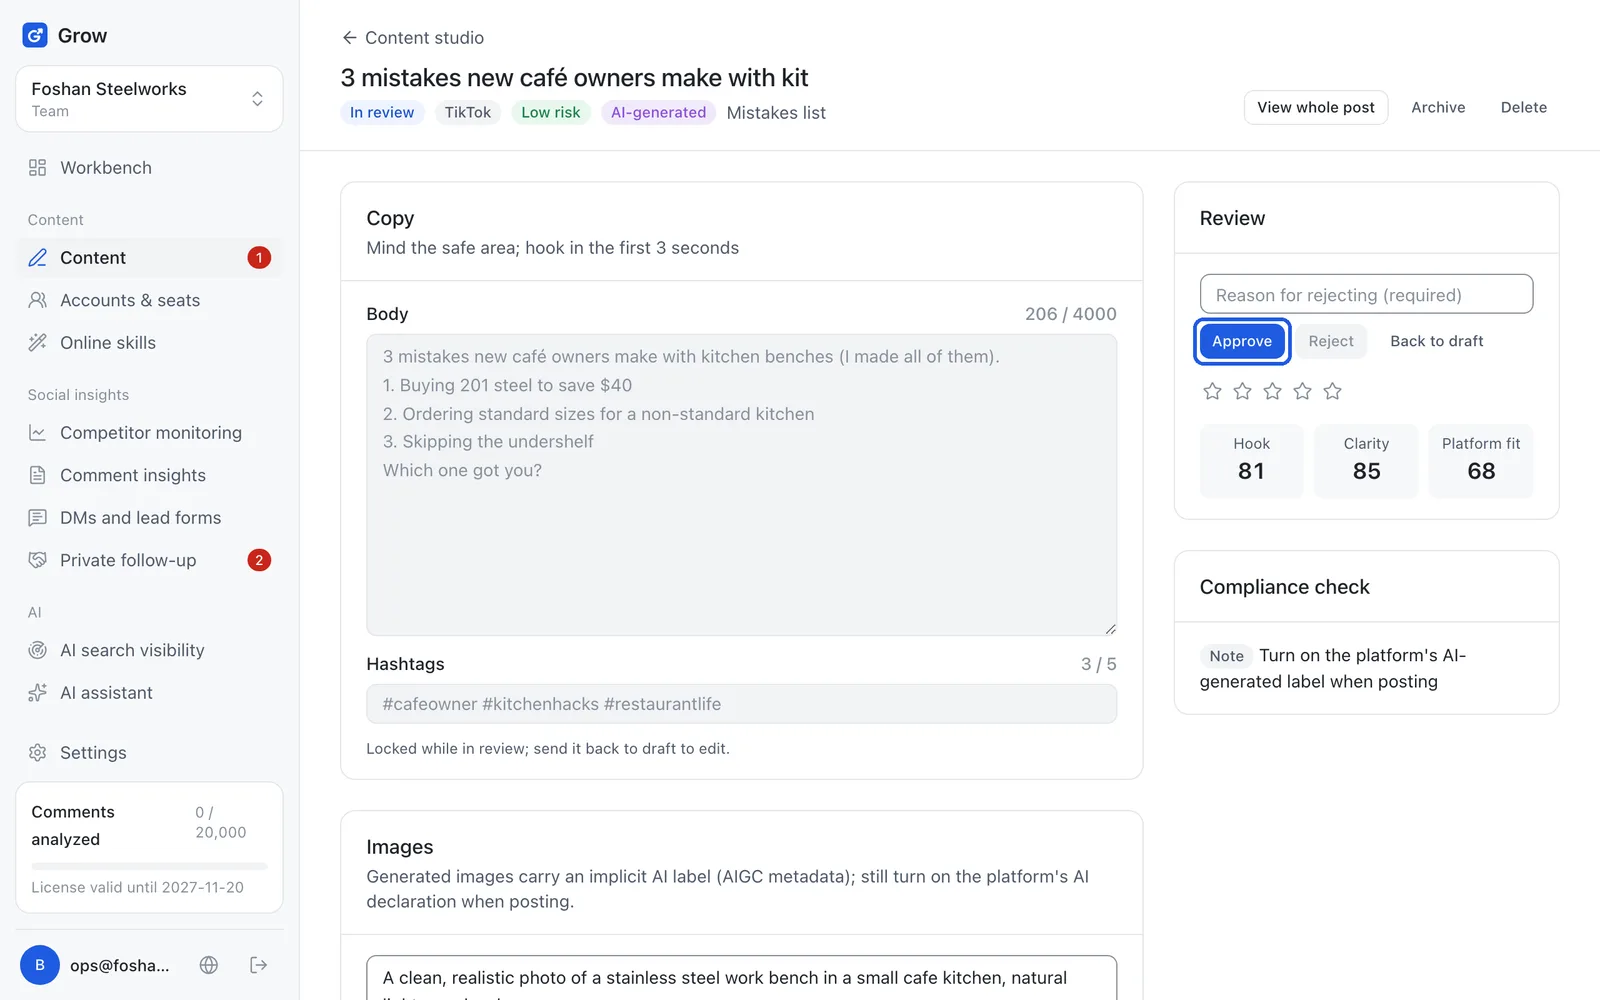
Detailed steps: Make a piece of content →
Tip: The email Grow was set up with is the owner, so you can click "Approve" yourself. Even alone it is worth it: after you submit, the compliance check shows, so you take a last look before posting; once staff write for you, only you can let a post through.
- Step 11
Put it in the calendar and click "Confirm"
Click "Content" → "Calendar" → "Schedule a post", pick the account, the time and the post you just made, and click "Schedule". Then open it in the calendar and click "Confirm": your last OK before it goes out; a post that is not confirmed never goes out. For Xiaohongshu and Douyin, confirming does not post it by itself; it means you get a reminder at its time.
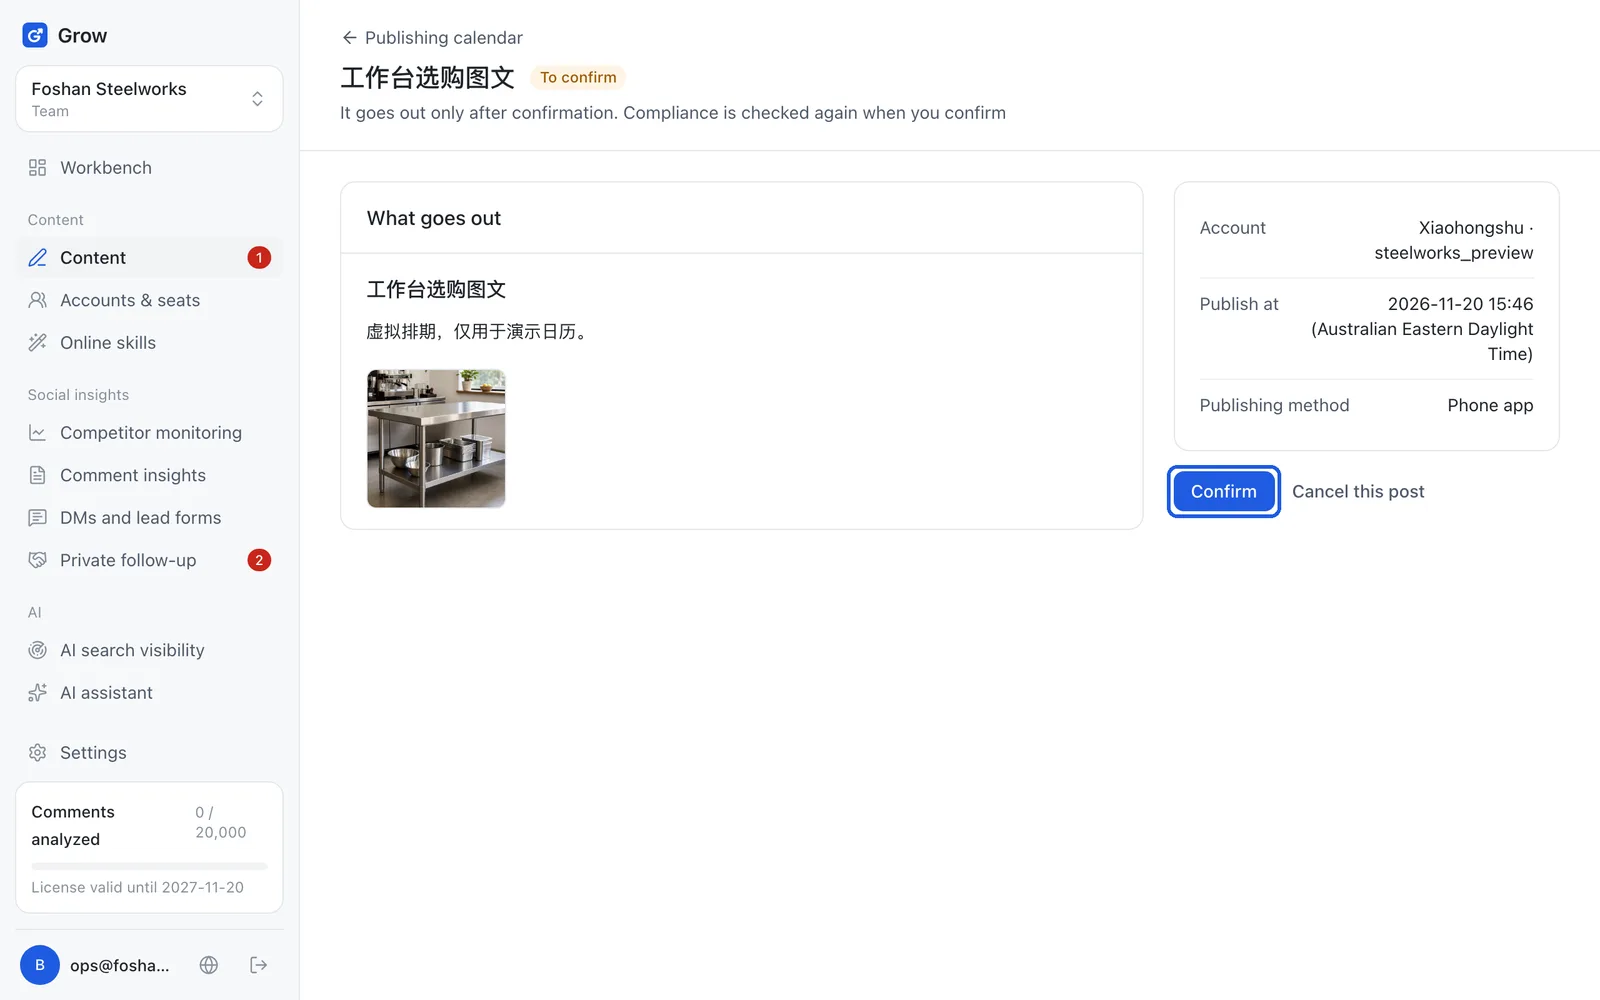
- Step 12
At its time, post it and paste the link back
At its time, on the computer with the extension, click "Open creator page" (the platform's posting page for creators). The extension fills in the post; check it and press publish yourself. Back in Grow, click "I'm publishing it now"; only then does the link box appear. Then on the platform use "Share → Copy link" on the post, paste it into "Post link" in Grow and click "Record link" (if what you copied is a whole paragraph, paste all of it; Grow finds the link inside). That is your first post done.
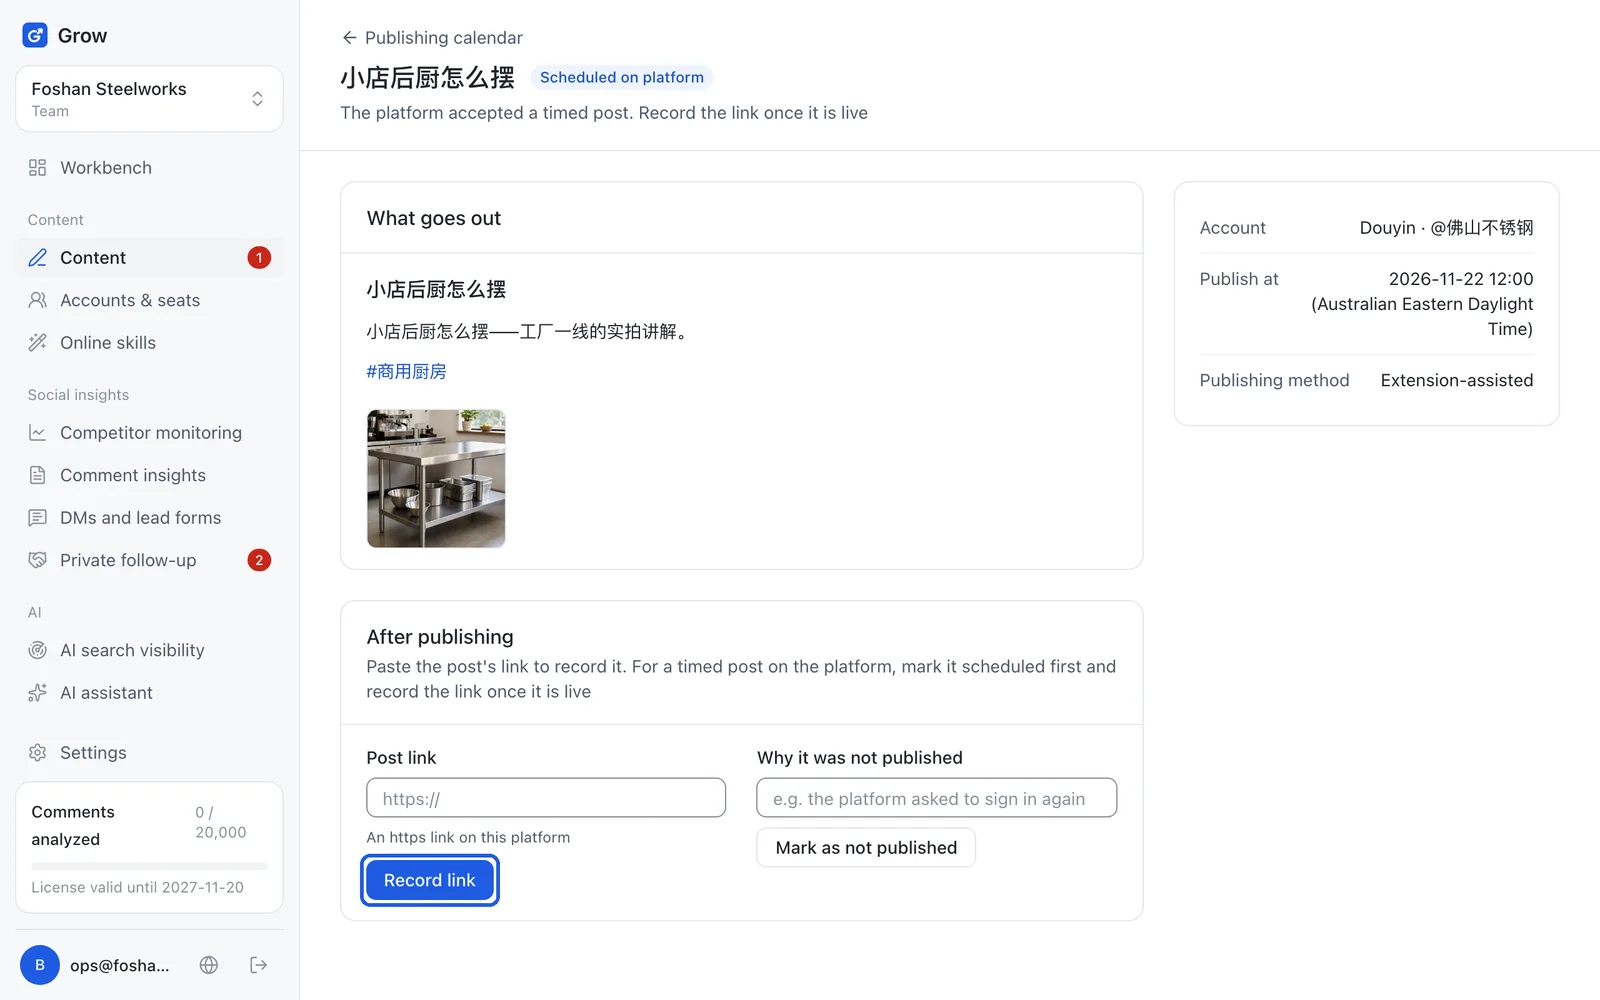
Detailed steps: Schedule and publish →
Tip: For numbers, customer follow-up and group reminders, carry on through the chapters. If a word is unclear, look it up in "Words explained".
Still stuck?
Message @JamesAI on X with a screenshot and we will take a look.