Signing in for the first time
Sign in with an email code, get to know the menu on the left, and switch language and workspace.
After this chapter: you can sign in to Grow and know what each menu item is for.
- Step 1
Enter your email and click "Send code"
Open the Grow sign-in page. In "Email", enter the email your license was issued to, and click "Send code". Grow has no password. Each time you sign in, it sends a 6-digit code to your email.
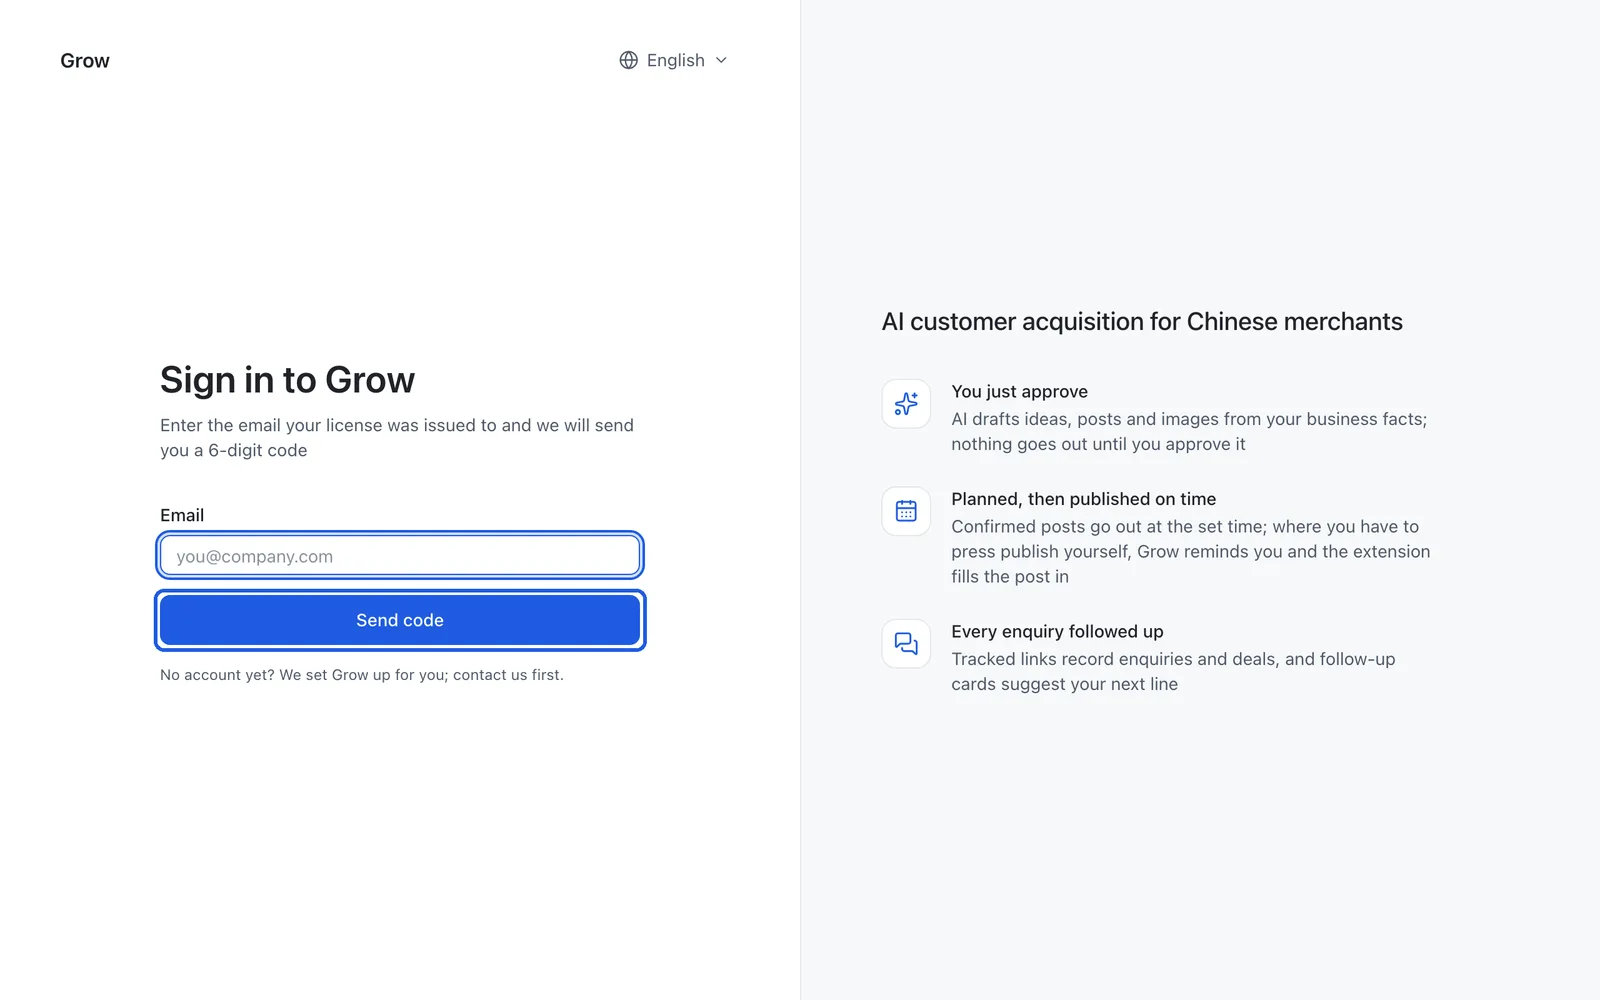
Tip: No account yet? We set Grow up for you, billed yearly or monthly, so contact us first; the seats for connecting platform accounts are paid monthly on top. An email without a license will not get a code.
- Step 2
Enter the code and click "Sign in"
Find the email from Grow, type the 6 digits into "Code", and click "Sign in". The code works for 1 hour. If it has expired or never arrived, click "Use another email" to go back one step and click "Send code" again.
Tip: Not in your inbox? Check the spam folder.
- Step 3
Get to know the menu on the left
After signing in you see the "Workbench". This is the home page: what goes out today and what is waiting for you. When you are new, further down the Workbench there is a "Week one: get one post out" checklist: add your business facts, connect accounts, produce your first post, put it on the calendar. Finished steps are ticked; click a step that is not done to go straight to its page. Once all four are done, the checklist goes away. The menu on the left, from top to bottom: Content: ideas, writing, scheduling and numbers Accounts & seats: connect your Xiaohongshu, Douyin, YouTube and other accounts Online skills: single writing tools, such as titles or removing the AI tone; optional Social insights: benchmark monitoring (watching accounts you want to learn from), comment insights, DMs and lead forms (contact details customers leave you), private follow-up (chatting with customers who added you on WeChat) AI insights: AI search visibility, AI assistant Settings: members, notifications and more
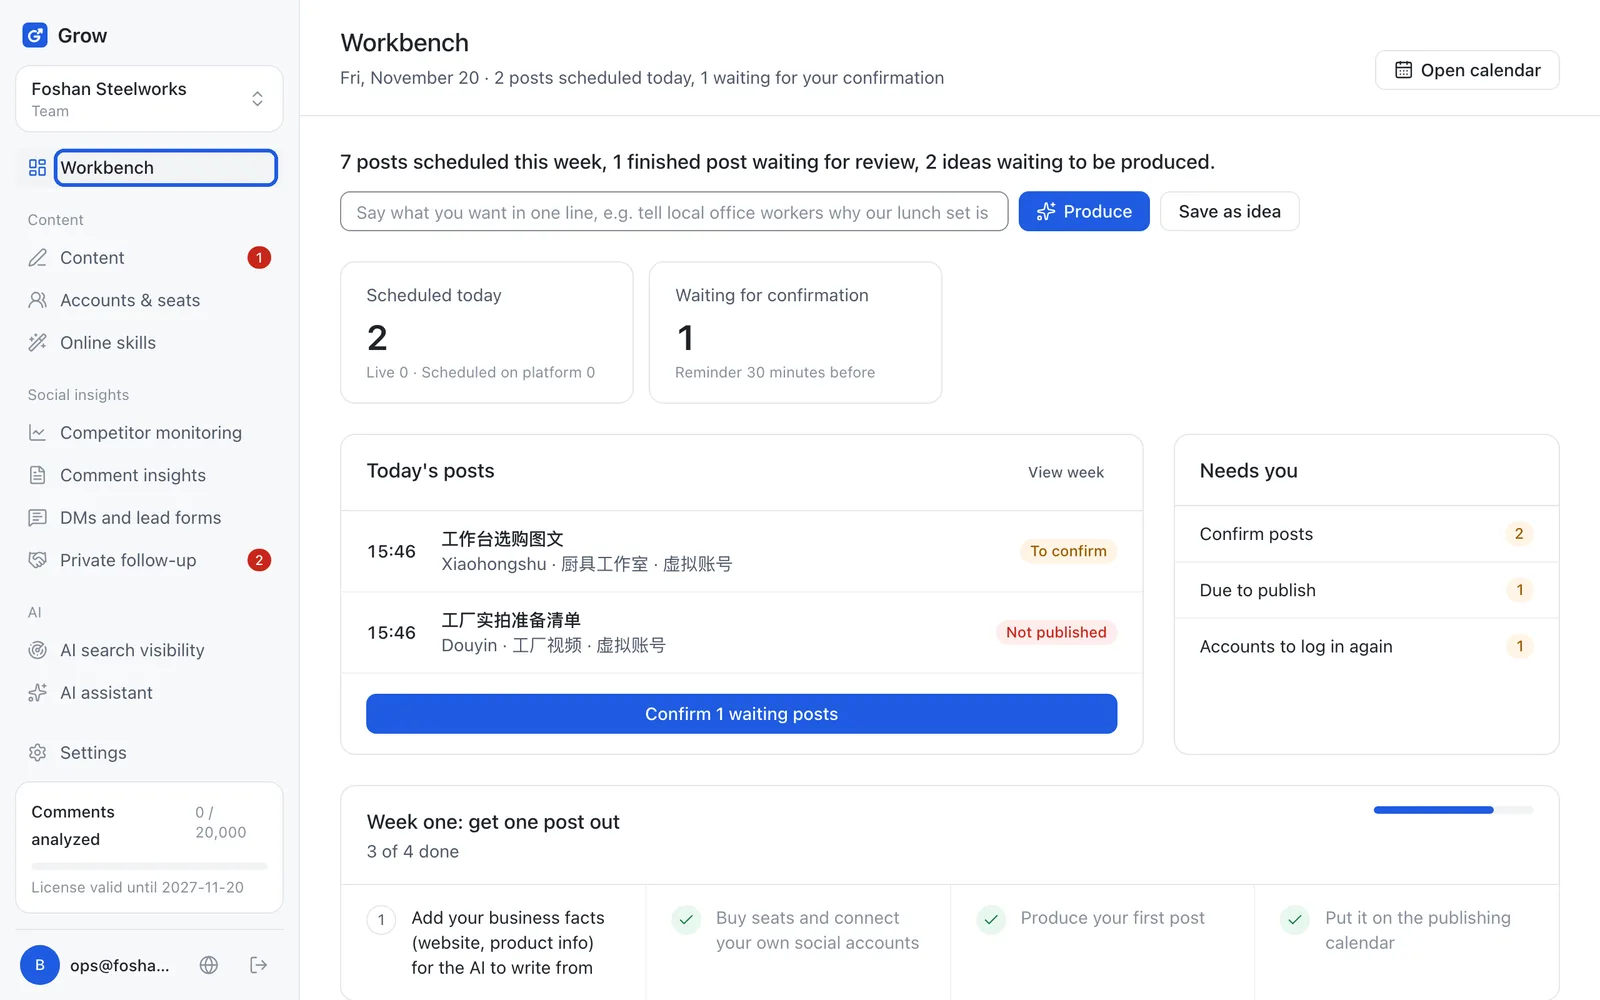
Tip: If your company has outreach email turned on, you will also see "Leads" and "Outreach" in the menu. If you do not see them, that is normal.
- Step 4
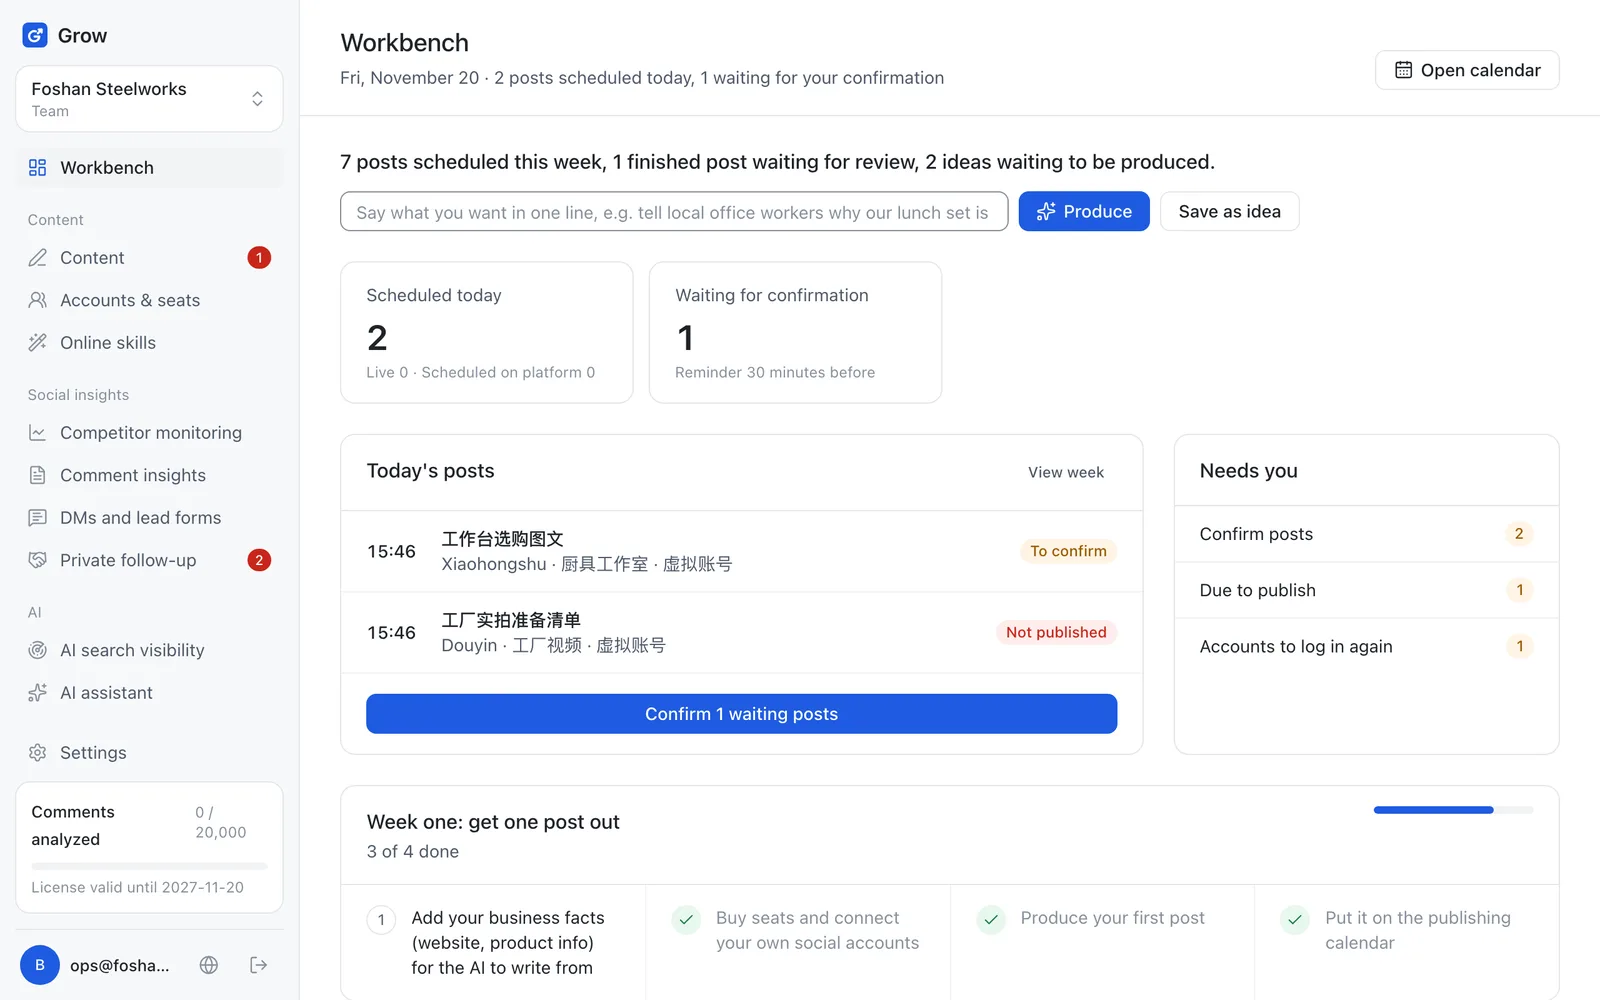
Switch language
Click the globe icon (Language) at the bottom of the left menu and choose "简体中文" or "English". This only changes the interface language, not the language of your content.
- Step 5
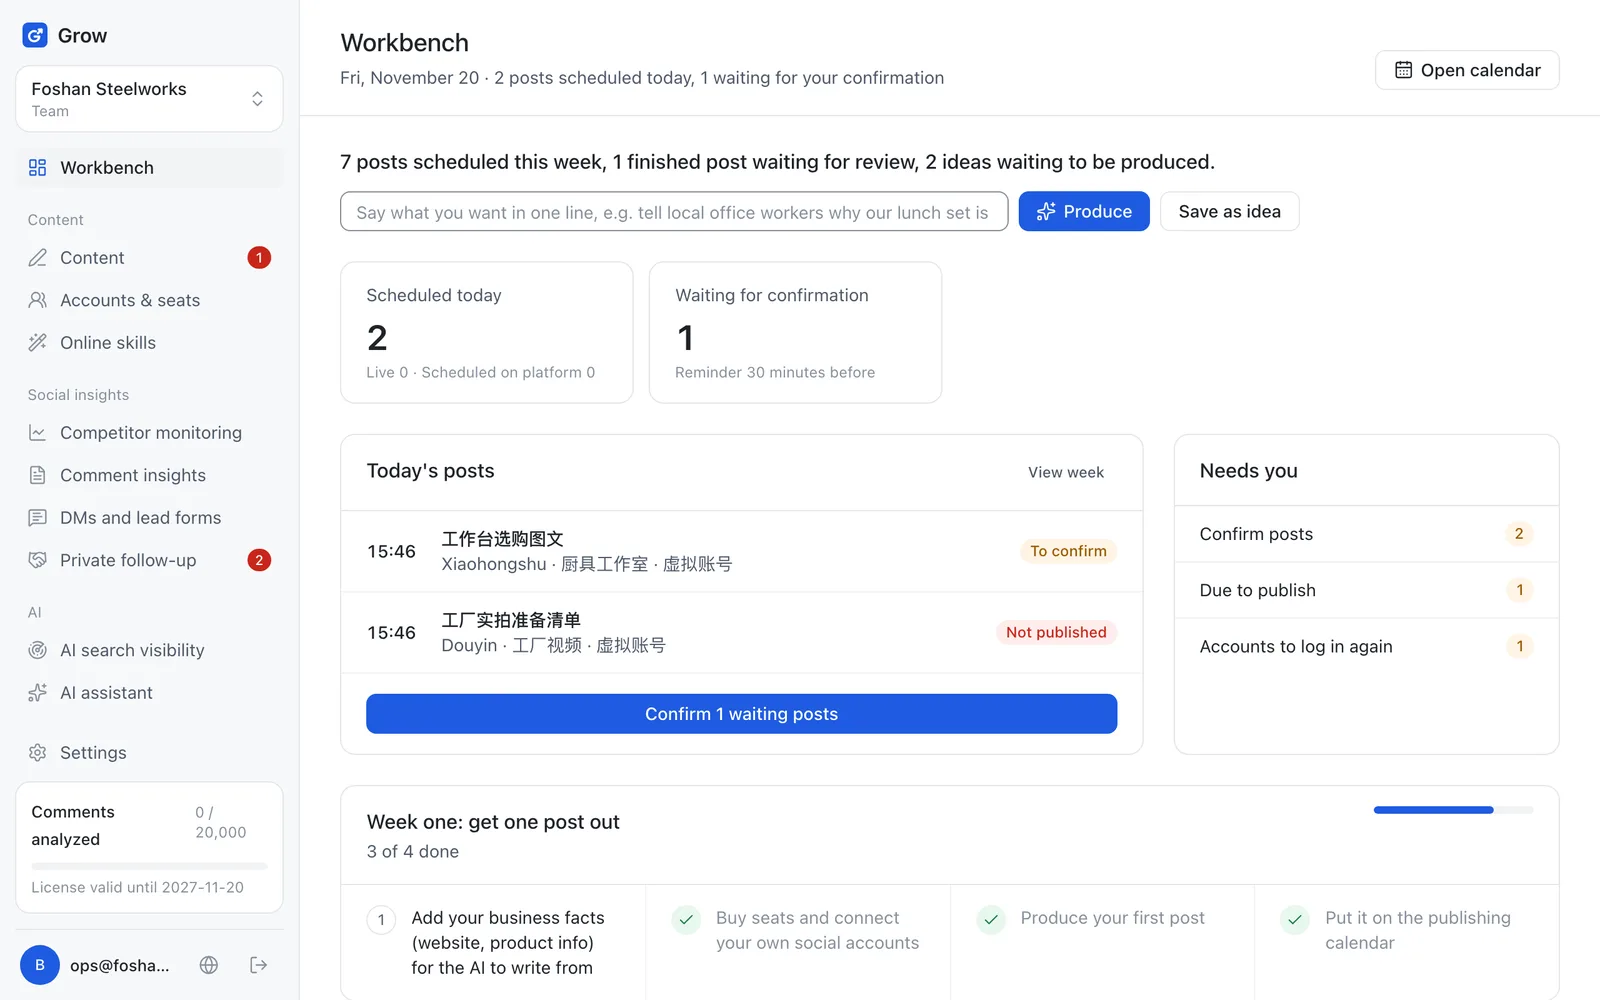
Switch workspace
The top left shows the name of the current workspace. One workspace stands for one brand or one shop. If you look after several brands, click here to move to another one. If you only have one workspace, you can ignore it.
- Step 6
Look around with demo data first (optional)
Want to see everything filled in first? Open "Settings" and click "Use demo data". Grow creates a separate demo workspace full of made-up examples. Nothing in the demo is really posted or emailed, and it does not use your AI allowance. When you are done, switch back to your own workspace at the top left.
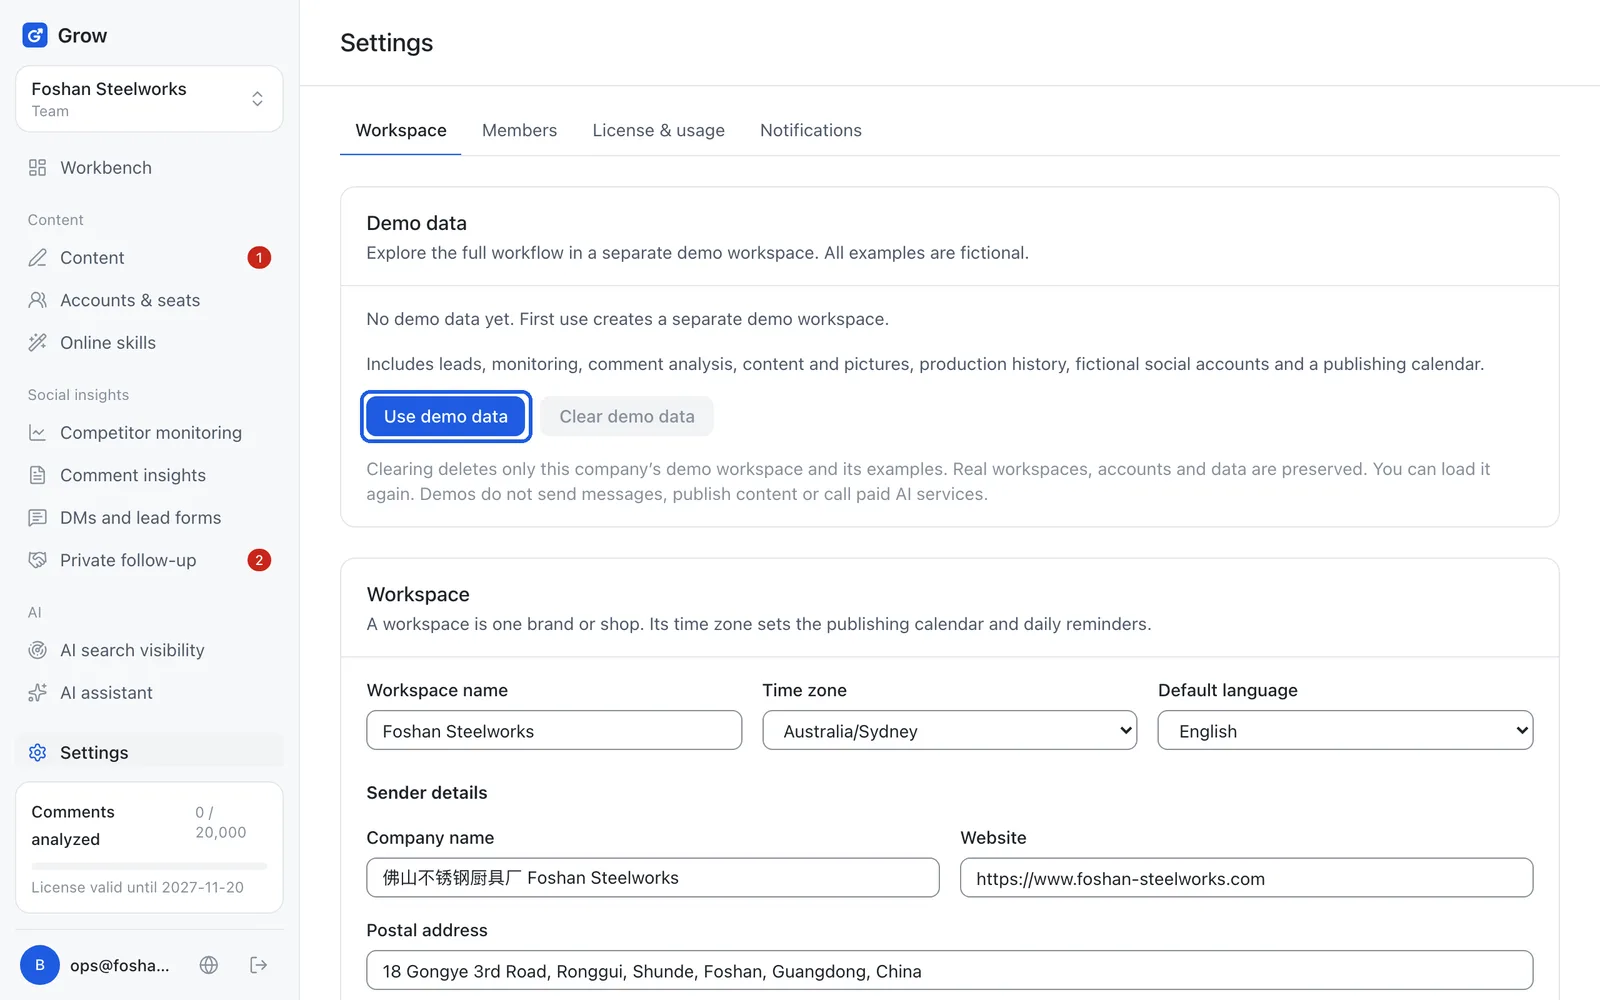
Tip: Only owners and admins can load or clear demo data.
- Step 7
Invite your colleagues
Open "Settings → Members", enter your colleague's email under "Email", pick a role and click "Send invite". If it says all seats are used, contact us to add seats. Roles: Owner (everything), Admin (manages members and settings), Member (uses every feature), Viewer (can only look).
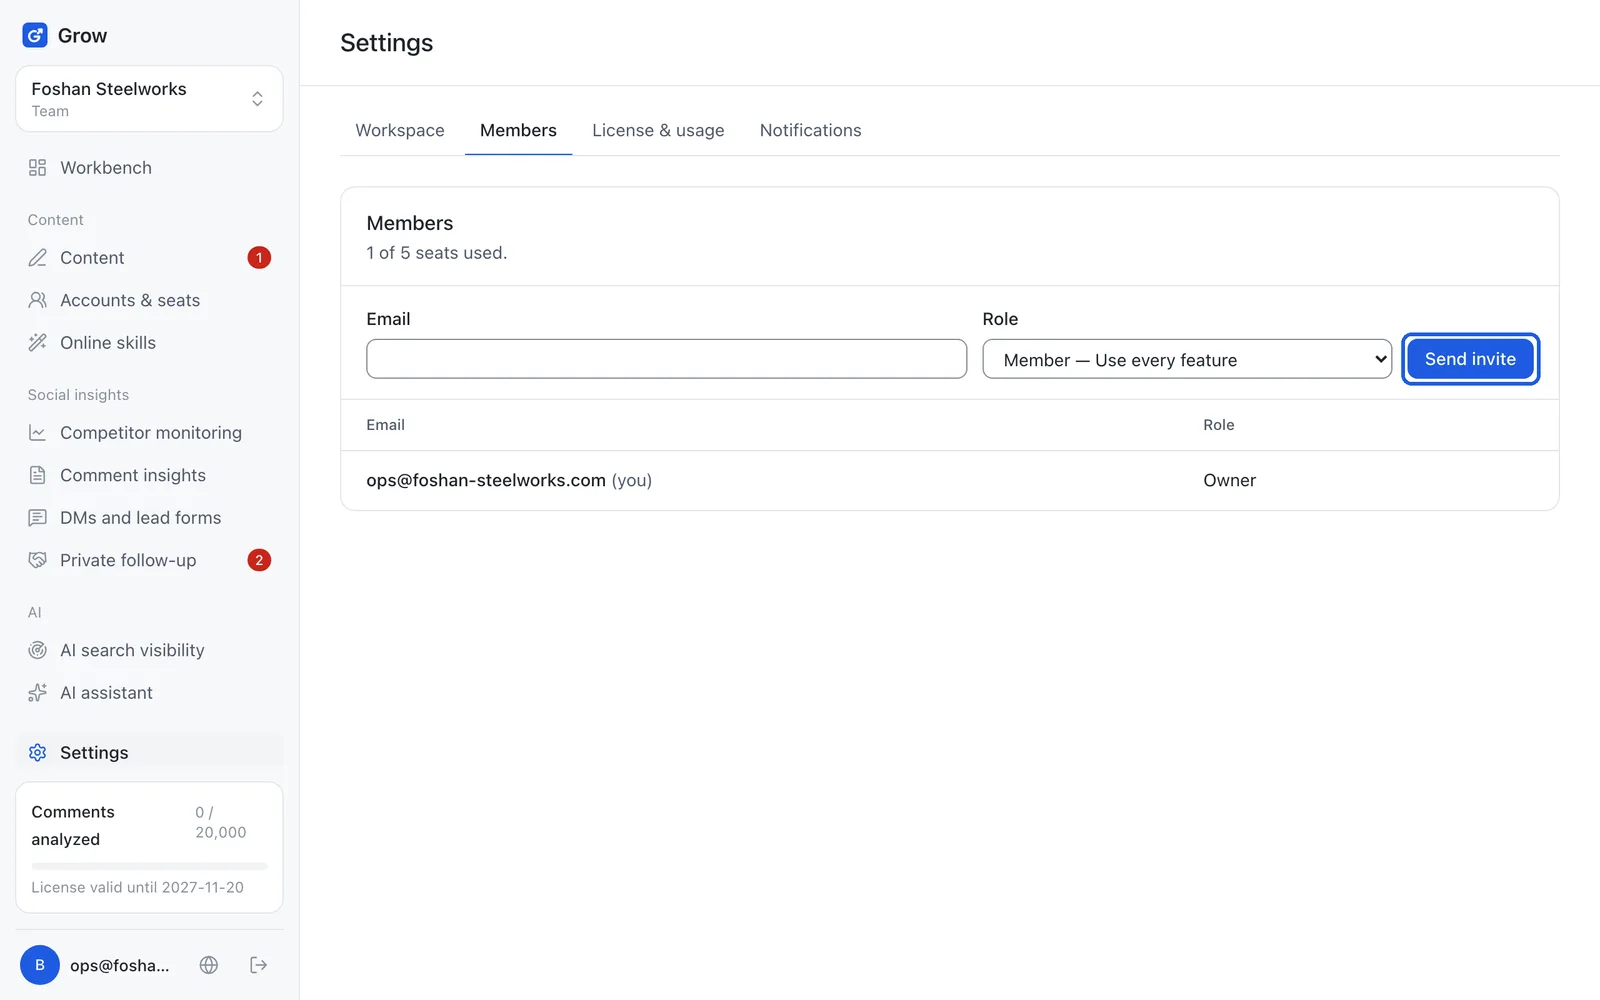
Tip: The seats here are the number of people who can sign in to Grow. They are not the same as the account seats in chapter 5, "Connect your platform accounts".
Still stuck?
Message @JamesAI on X with a screenshot and we will take a look.